Making A Very Secure Travel Backpack Alteration

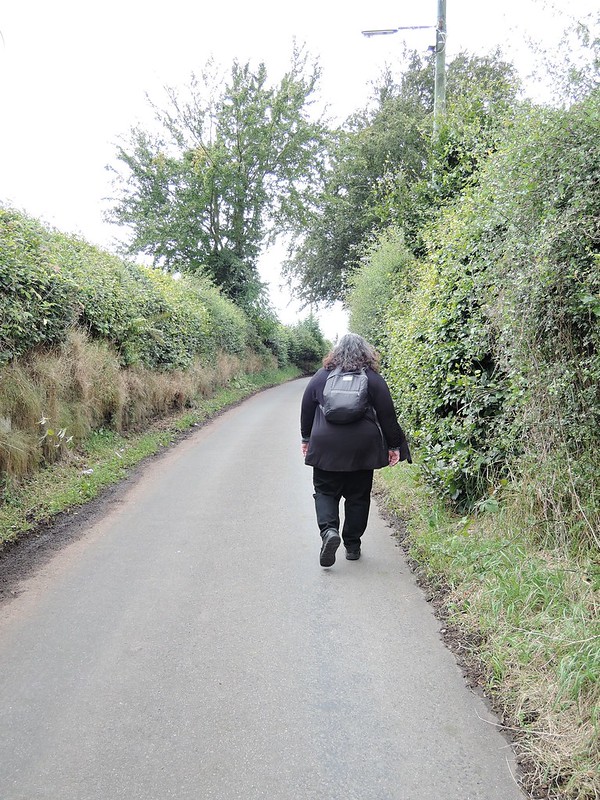
I haven’t been in Europe the whole time since my last post, although I easily could have spent more time there, but I did finish altering my backpack to make it more secure before leaving and now I’m here to show you how I did it.

Me with backpack

First, I looked at how my favorite leather bag was constructed and the proportions used for the zipper along the back. Then, I googled. I found this tutorial…well, no surprise I can’t find the tutorial months later…but there are many online.

I used an Eagle Creek Daypack . (This is a newer version of the one I used.) It’s very lightweight and easy to smash flat into the top of a suitcase, or more complicatedly, stuff it into its own front pocket.

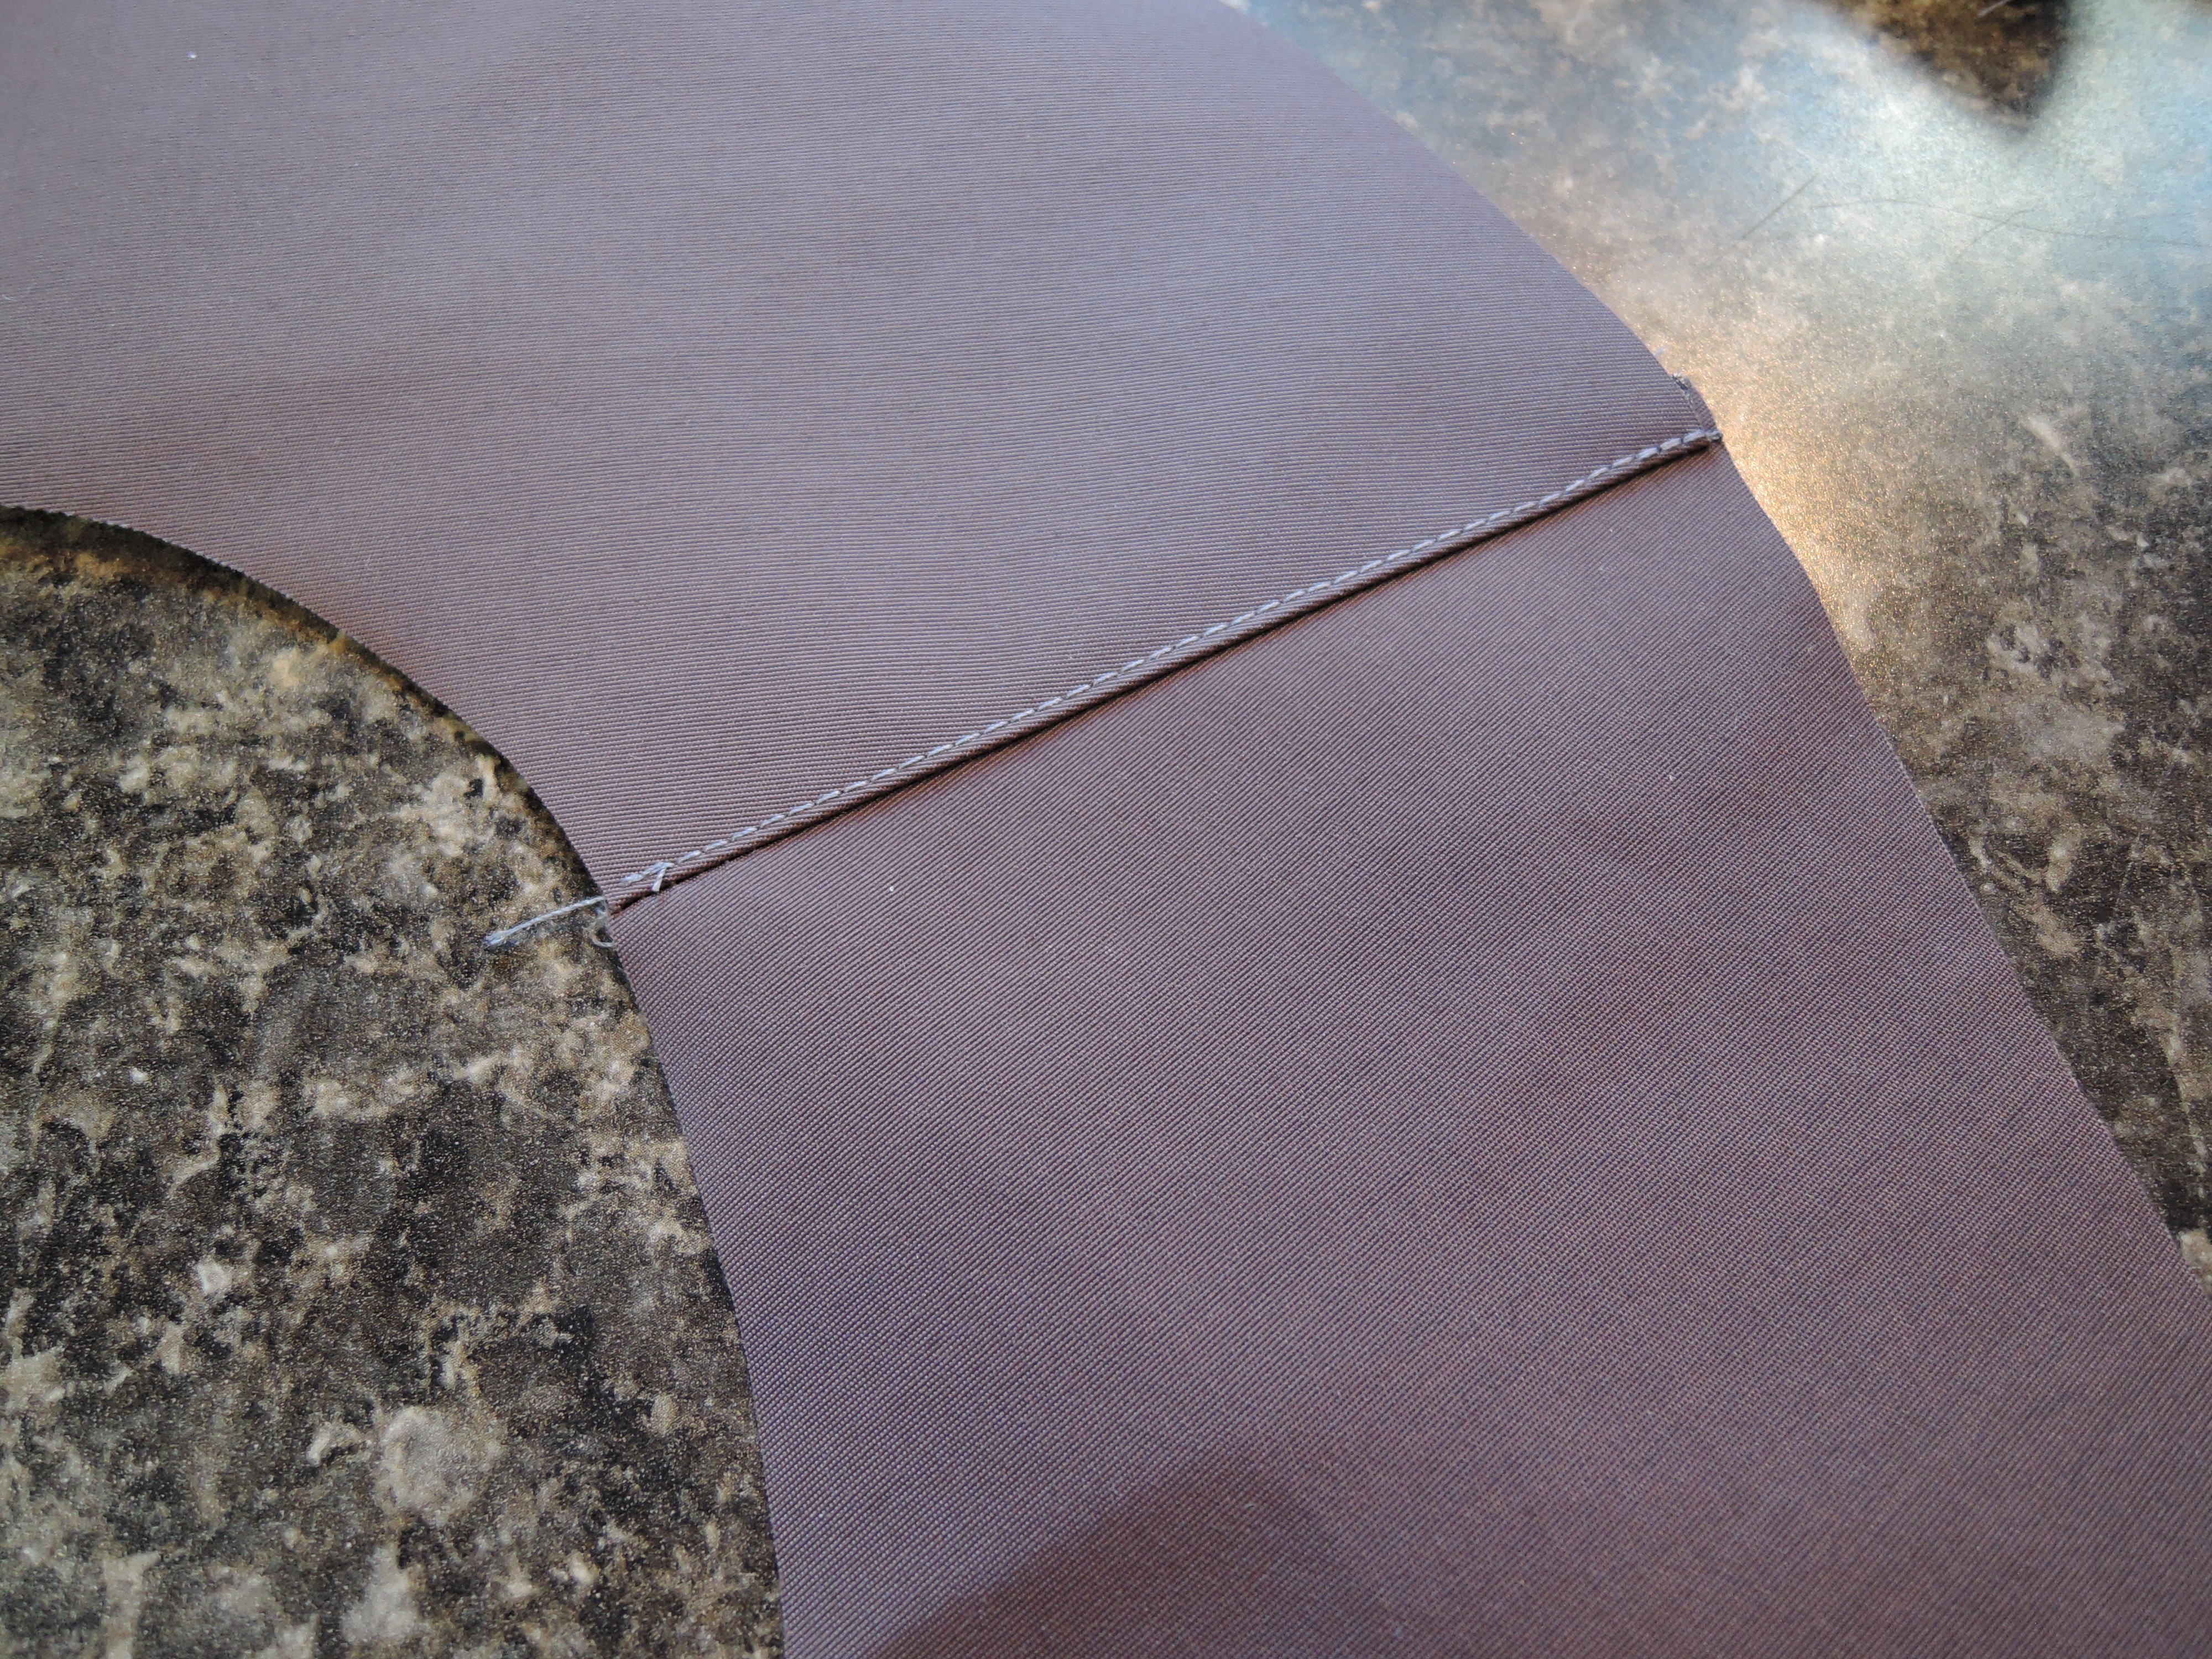
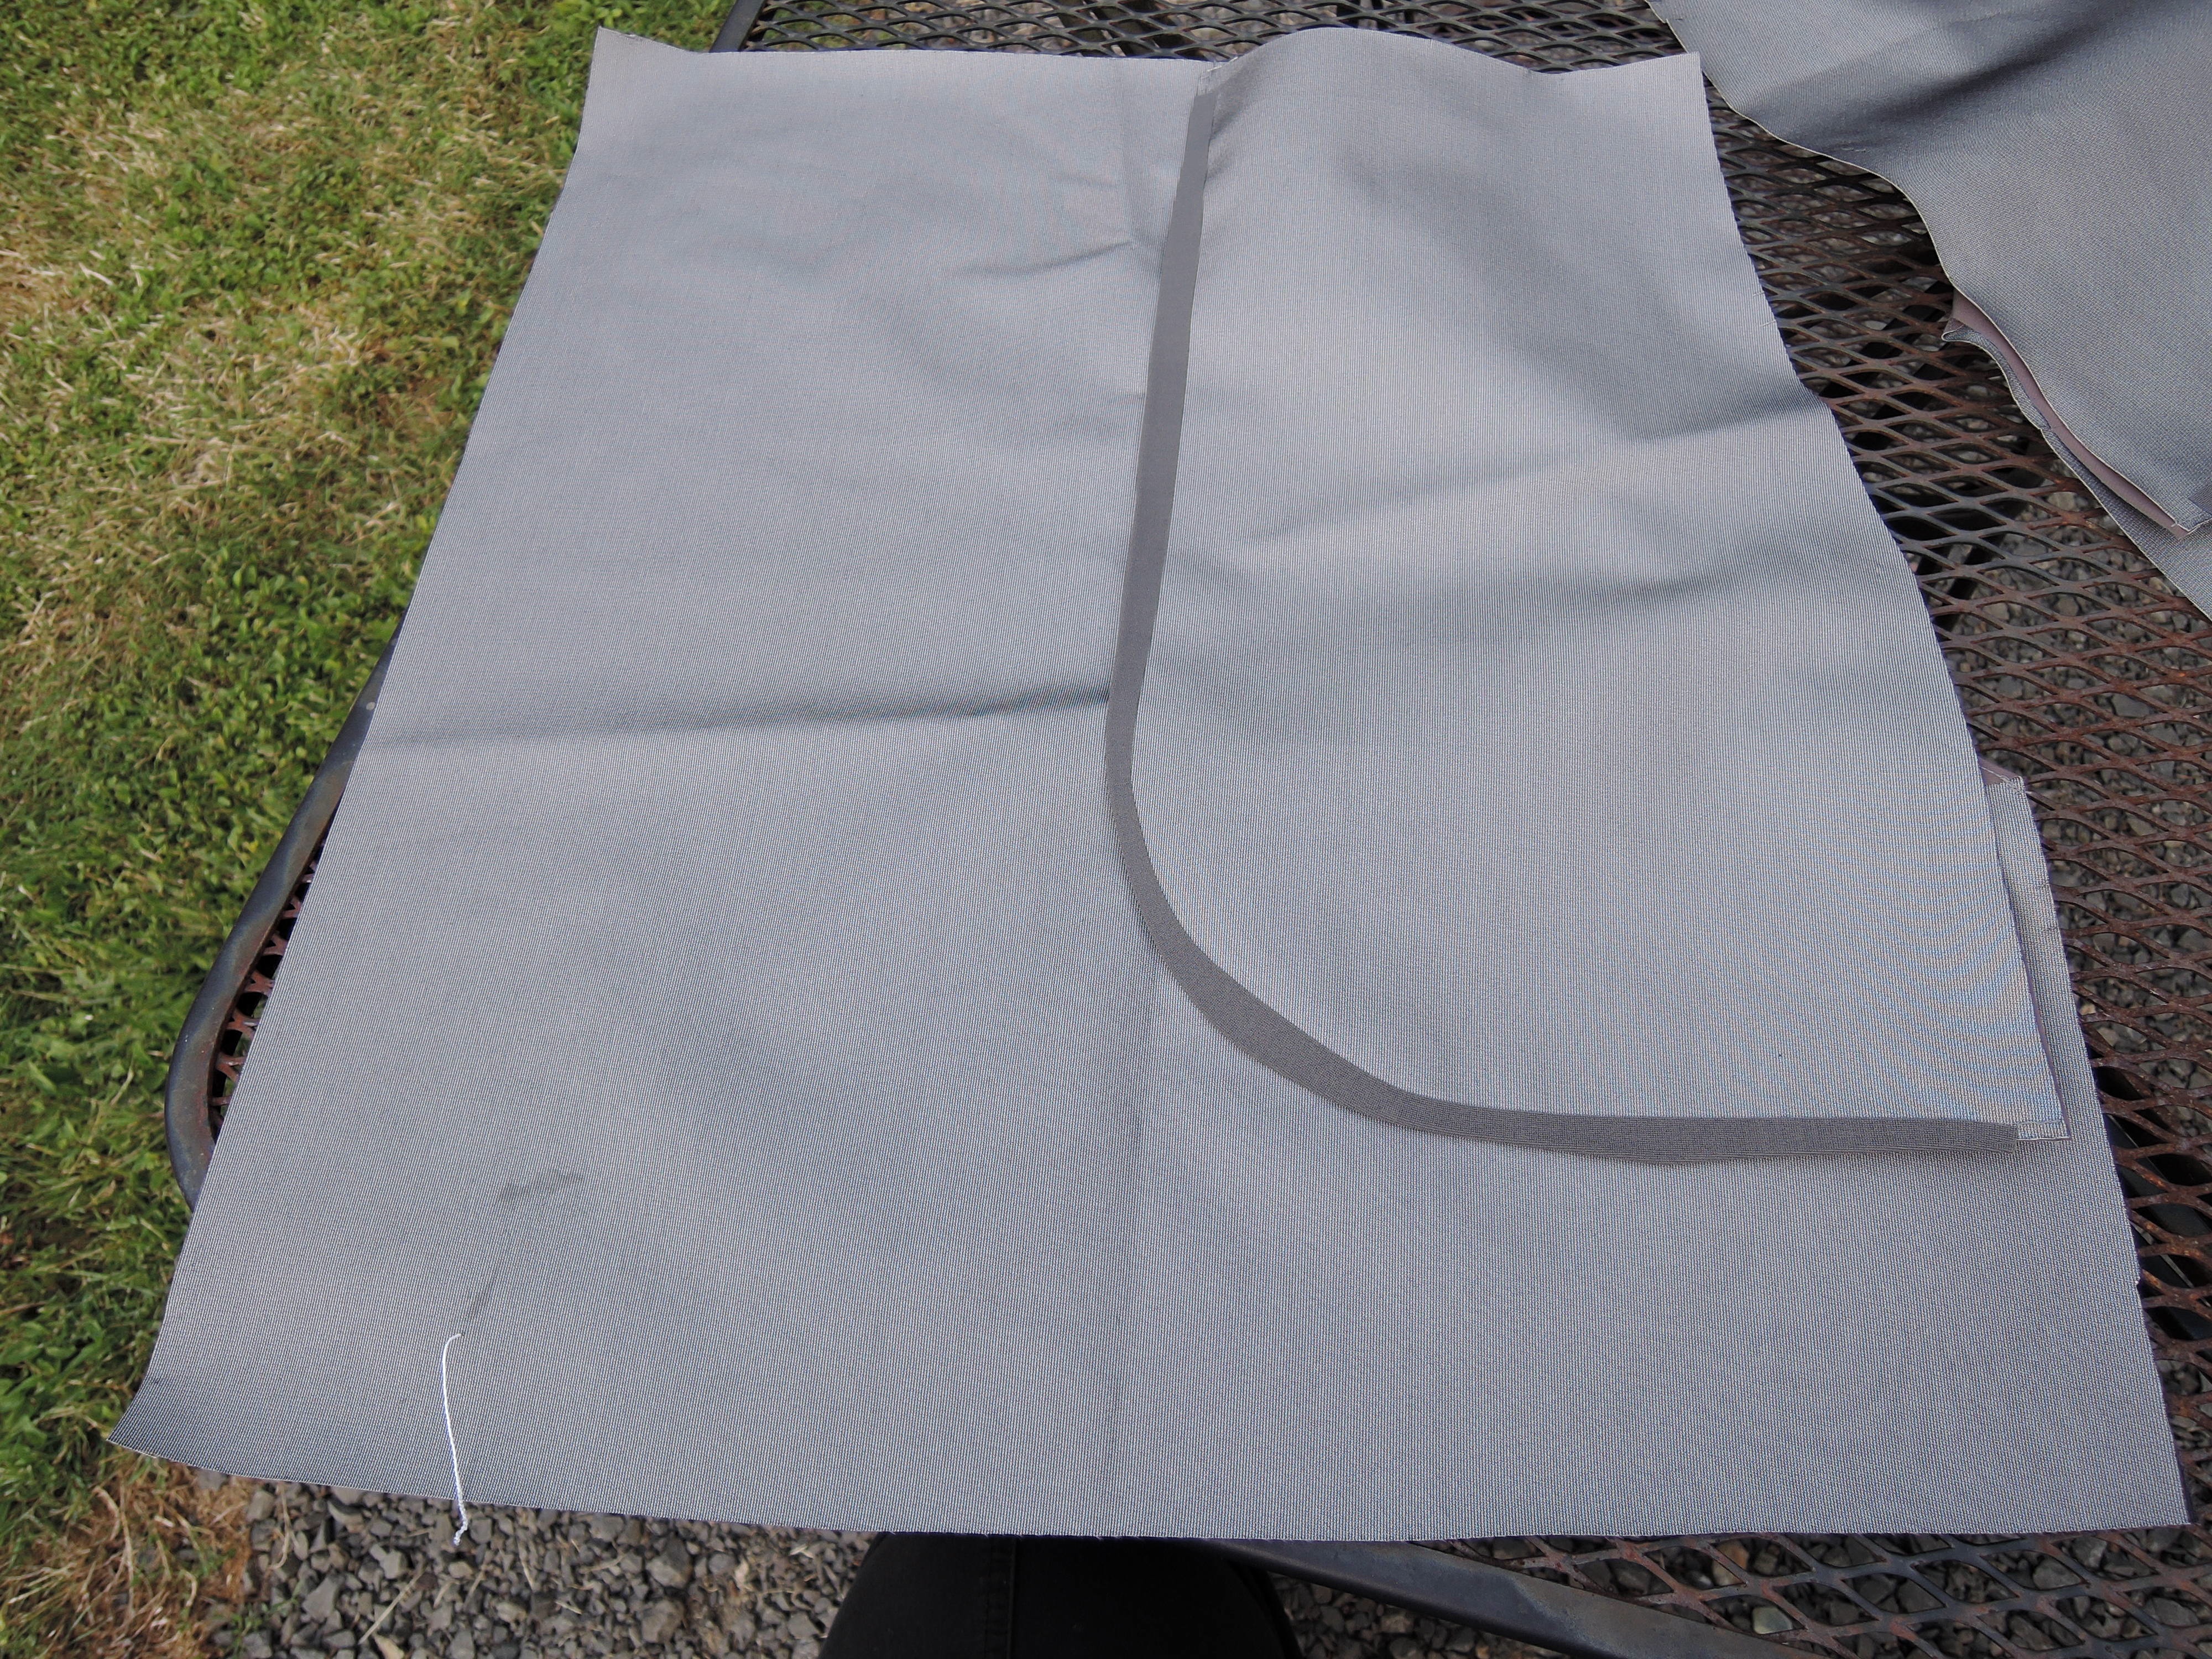
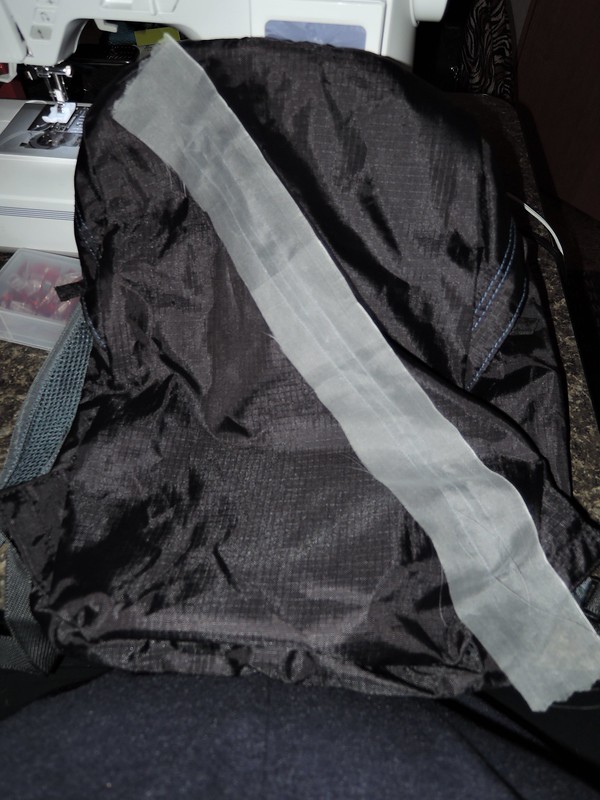
First I laid out where I wanted the zipper to go. I wanted enough room to pull a sweater out of the pack, so I got pretty close to the top and bottom. Here’s my 14″x1/2″ rectangle, which is marked on the right side of the pack:

DSCN0389

I also drew the cutting the line for the zipper down the center of my rectangle, and the “Y” cutting lines on each end. Place a piece of silk organza or other sheer but strong fabric on top of the zipper opening, cut a little bit larger than the 14″x1/2″ opening. Sew around the outer edge of your opening.

DSCN0391

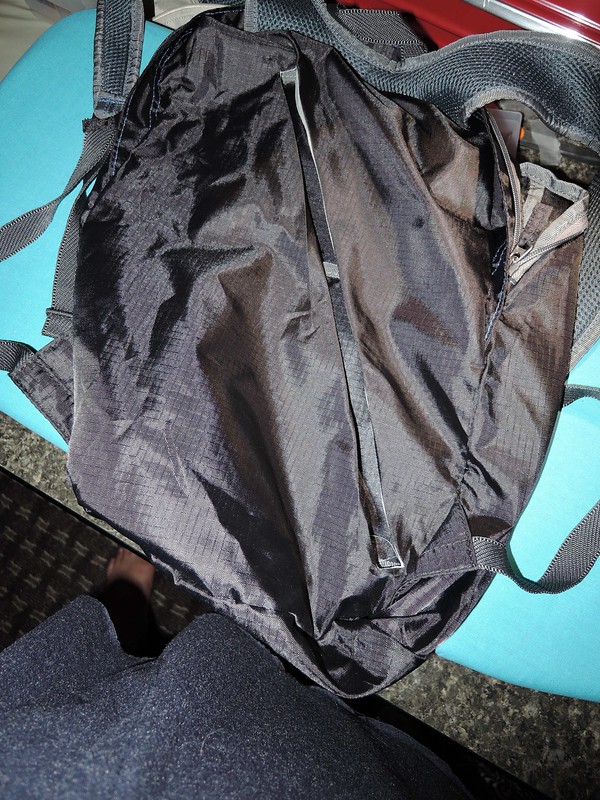
Then, the scary part. Cut down the middle of the opening and snip to the corners where the “Y” is marked on both ends, then push the silk inside the pack through the opening and press.

DSCN0394

DSCN0396

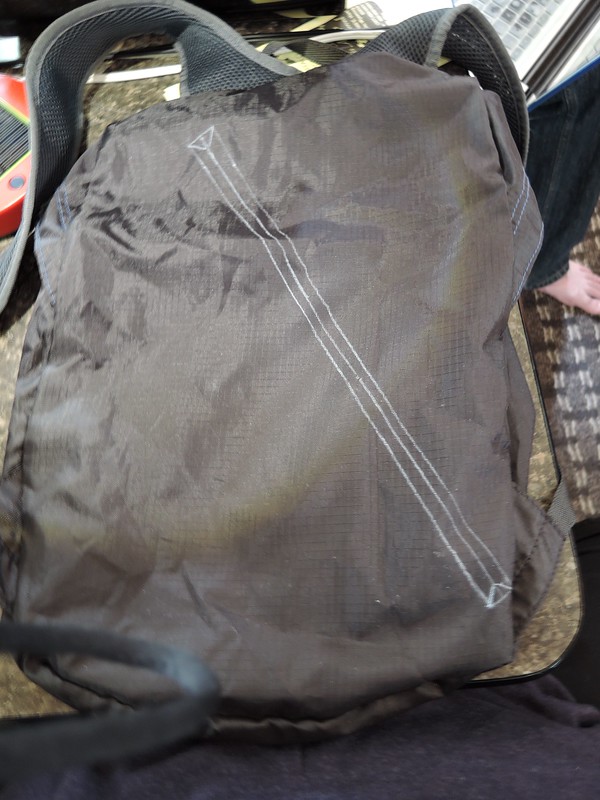
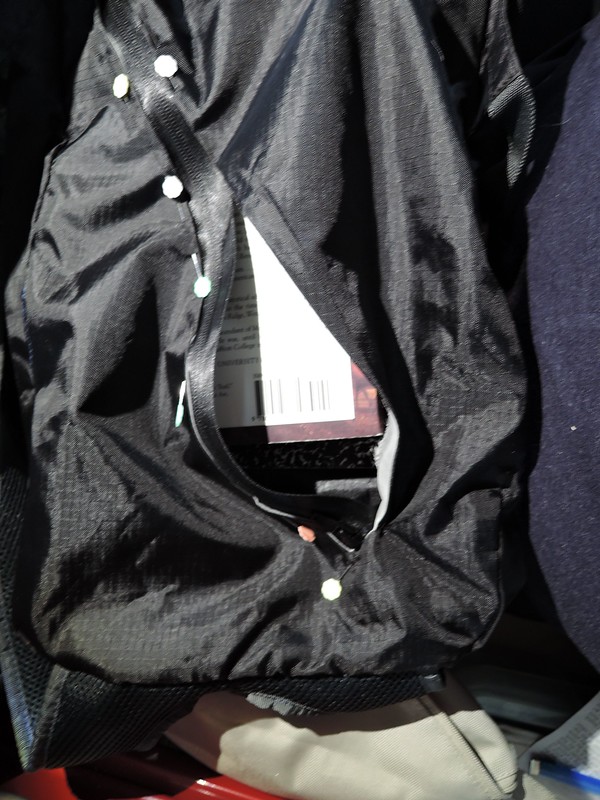
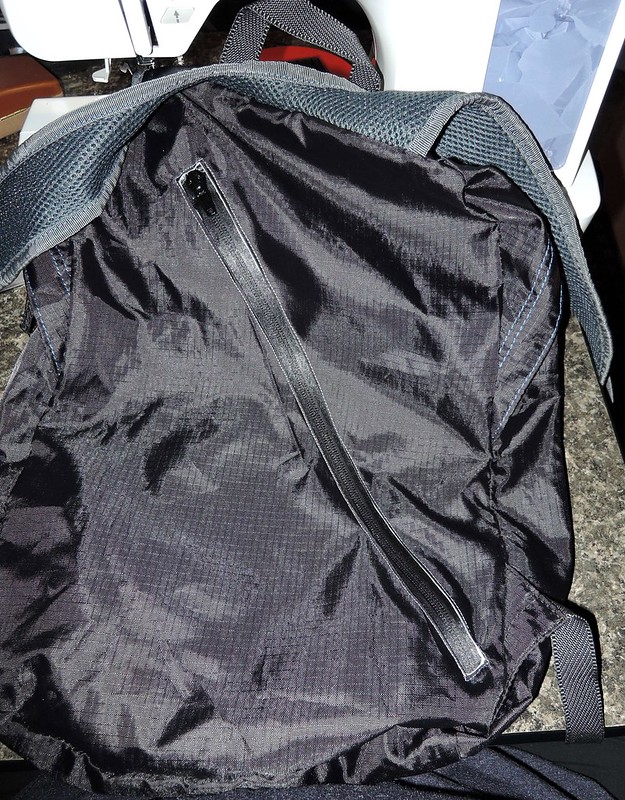
Pin the zipper to the opening and sew near the edge of the opening, moving the zipper pull as needed to accommodate the zipper foot of your machine. I used a water resistant zipper, just in case.

DSCN0397

DSCN0399

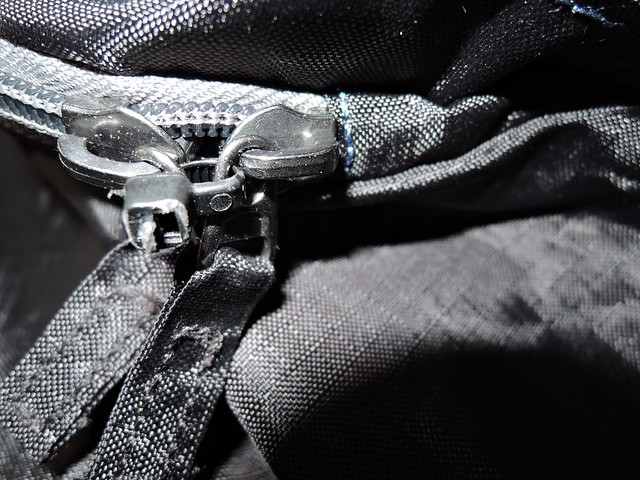
Now, what about the front pocket? I closed the top zipper using a black wire tie and snipped off the tail. Worked beautifully.

DSCN0402

DSCN0406

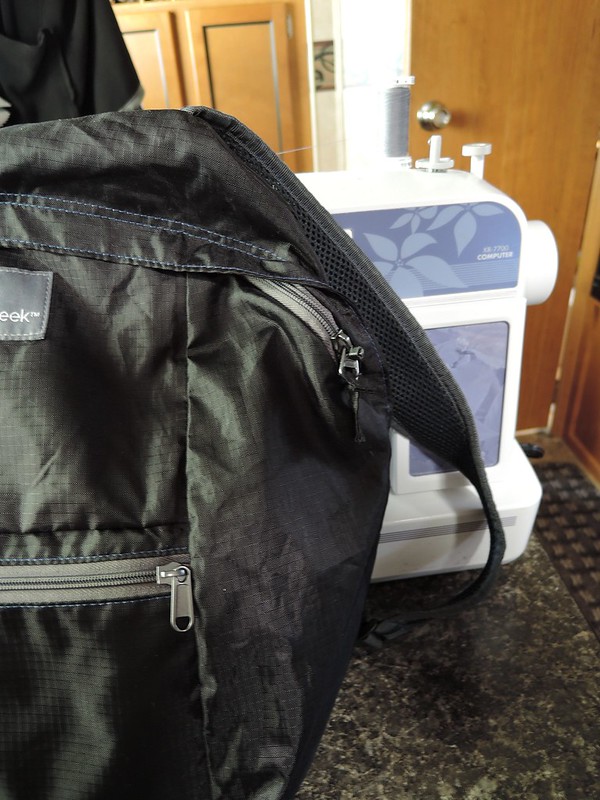
That’s it! I thought it would be harder than it was. This worked marvelously for my entire trip. I felt very secure the whole time. The backpack itself held up well except that after about two weeks of use, the seam at the top of one of the straps started to come open. I was dreading having to repair it over and over but I only sewed it up once and it held up for the rest of the trip.

Travel Bag Mod

Most everything I’m making right now is meant to be used on our 6 week trip to Europe. Because we are only traveling with carry-on bags, each piece’s attributes and and detriments seem exponentially greater.

Obsessions:  What if it shrinks in a laundromat with super hot driers (and then can’t be used as a top over leggings, for example)? What if it starts to pill and becomes scratchy? (I get welts from these types of things.) Should it be hand-washable? If it is, will it dry overnight in a damp hotel bathroom? Do I want to be doing laundry on my trip? If I do, then I need to bring scent-free detergent, and gloves to protect my hands, and a clothesline.

It’s different wearing larger sizes, too.  Need a pair of replacement leggings that got torn?  If you’re a small size, you could probably get a pair almost anywhere, but not so for larger sized people!  They might only be available in specialty stores, of which there might only be 1 or 2, even in a big city.  Even department stores that have larger sizes may not stock basics (foolishly, yes).  Forget finding anything like a technical jacket or underwear.

I could go on. I have, however, found the perfect purse, and I’m so afraid it’s going to wear out. I’ve had it over 10 years and it’s still good. I cycle through periods of using it, and then feeling silly for wearing a backpack, and then back to it again. It’s just too practical. I even lost it once and it came back to me, returned with its contents inside. It’s made by a company called Libaire. And it turns out they still make it!  It’s called the San Francisco. Yummy leather that you’d want to hug and rub.

Backpack LeatherThat diagonal zipper across the back, the side that sits on your body, is the best idea ever.  It feels very secure, I never feel like anyone could reach into my bag and take something.  I plan on doing the same thing to this pack:

Backpack Nylon

This one is a bit bigger and should be able to hold my jacket that I’m still working on. I should be able to mark a rectangle with the Y shape at each end and insert a zipper, right?

I finally figured out how to make the hood on my jacket with a drawstring casing that can be waterproofed.  Still obsessing on the zipper facing.


Finally!

I got to sew today.  It’s been more than a month and I was almost ready to tear up.  Strange because I only rediscovered sewing a couple of years ago, out of frustration.  I thought I’d finally, finally try customizing something to my own measurements, just winging it by adding things here and there, not even researching it like I would normally do before trying anything new, and when I tried on the dress I was shocked at how good it felt.  Just right.  And strangely, yet logically, because it felt right, it looked right.

I got to work on my jacket and of course, made a mistake.  Usually it’s not big deal when I do, just pick it out and redo, except with a waterproof jacket, you’re then leaving holes that can leak rain.

Here’s what the stitching looks like on this fabric:

Image

This fabric actually handles very nicely.  I tried hard to make a mess of it with a sample piece, which also shows the seam sealing tape.  I haphazardly sewed through multiple layers of the fabric, which I knew I’d have to do in the jacket (less haphazardly), and it worked fine.  The black edge is actually the selvage edge of the fabric.

DSCN0032Here’s a photo of one side’s pocket done with seam sealing tape around the outer edge.

DSCN0037

A lot of the things that were recommended for sewing waterproof fabric I’m finding to be optional, due to my laziness.  First, the teflon presser foot, which I forgot about while testing.  Second, the non-stick pressing cloth.  I have not had any of the seam sealing tape stick to my iron.  Maybe if I ironed the wrong side of it some residue might get on the iron, but so far, so good.  I am using a Schmetz number 8 Microtex needle with regular polyester thread.  I realize I haven’t gotten to the hard part of the jacket–the hood, facing and zipper are sewn in one knock down, drag out scary seam, so this may change.

The only issue I’m having right now is with the bobbin tangling a bit.  I always hold the threads while starting a seam so I’m not sure what’s causing it.  Oh, I also wanted to show off my new camera‘s macro setting, which I’m loving.

DSCN0033


Image

I Did It: Sewing On The Road


It took a lot of arranging and clearing off, but I did spend a few hours sewing in our trailer.  I even got to test out the Ultrex waterproof fabric and the iron seam sealing tape, which worked out great.  I probably won’t be able to sew again until next week.Sewing In Trailer